BENCH TEST & BATTERY CHARGE

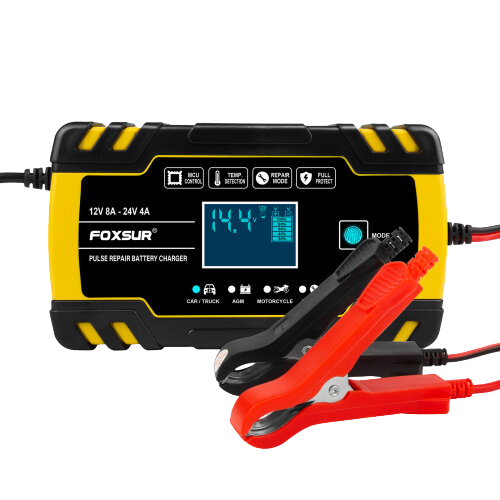
12-volt batteries are typically not shipped in a fully charged state. If you do not possess one already, it is highly recommended to acquire a 12-volt battery charger. These chargers can be conveniently purchased on Amazon for a price of £20. It is advised to charge the battery overnight and carefully follow the provided setup instructions to guarantee the proper functioning of both the camera and the router. By doing so, you can ensure that all components are operational when you arrive at the site.

CONNECTING WIRES

An off-grid setup might seem unfamiliar, but you can effortlessly connect everything and have your solar-powered system up and running in under 10 minutes. It’s as simple as connecting the wires

IN THE CORRECT ORDER: 1 – Attach the battery cables to the battery terminals. 2 – Connect the load cables to the load terminals on the charge controller. 3 – Connect the solar (PV) cables to the PV terminals on the charge controller. 4 – Connect the data cable to the out port on the POE injector (small white device, 2nd from the right).


Red cable to positive (+)

Black cable to negative (-)

SOLAR PANEL SET UP

We provide solar panel extension cables with pre-terminated ends, ensuring your cables are ready for easy connection to the solar charge controller. Simply plug the connector ends into your solar panel’s connector ends, similar to the illustration displayed above, this corresponds to step 3 in the “connecting wires” section.

CHARGE CONTROLLER LCD DISPLAY

When fully set up with your solar panels connected, the three most important icons are: A solar panel icon with arrows, indicating connection and functionality, a fully charged battery icon with maximum bars, and a lightbulb icon surrounded by lines indicating the load output is working.

CHECK THE VIEW

When powered, the camera will auto start to send images to your remote cloud folder, and web-portal. You need to check the view locally to ensure you are happy with the camera’s field of view.

VIEW CHECKING BY YOU

Access the router and camera locally to check the view.

1 – Search for local wi-fi access points on your PC or laptop – Connect to the one named “RUT…”
The wi-fi keycode is Lapse123

2 – Copy and paste or type this into your web-bar – http://192.168.1.225:2005 (cameras IP address)
Your user name and password should of been sent to you

3 – Once logged into the camera you may see a live stream (depending on your browser)

4 – If you don’t see a live stream, in a separate address bar copy and paste http://192.168.1.225:2005/Streaming/Channels/1/picture Enter the cameras user name and password and it will download an image

VIEW CHECKING BY US

You can contact us, and we will send images to you, we do this by WhatsApp or text message. If it’s a bench test or live site install, please try and send us a text or email to let us know when you may need our remote help.

Recent Feedback

"Superb support, had a few issues during the project with power cuts, mobile networks going down and they were always contactable and helped resolve the problems ASAP, highly recommend."

- Steven Gourlay, Owner of Steven Gourlay Photography Ltd