Next, complete “STEP 1”, then move to either “STEP 2” or “STEP 3”
#STEP 1 - POWER UP
Everything is pre-configured and ready to go. The 4G router within the box is broadband ready, as soon as power is received, images will auto-send to your remote cloud folder directory.
#1 – Plug the power lead into a plug socket
#2 – Mount the camera
#3 – Check the view – Move to Step 2 or Step 3
A Torx Allen Key is included, this is used to loosen screws at the base of the camera, this allows you to turn it up and down, left and right. Metal jubilee style clips and cable ties are included to mount the camera to a pole.
#STEP 2 - VIEW CHECKING BY YOU
Access the router and camera locally to check the view.
1 – Search for local Wi-Fi access points on your PC or laptop – Connect to the one named “RUT…” – The Wi-Fi password is “Lapse123”
2 – Copy and paste or type this into your web-bar – http://192.168.1.225:2005 (camera’s IP address) – Your username and password is on your access sheet.
3 – Once logged into the camera, you should see a live stream (depending on your browser).
#STEP 3 - VIEW CHECKING BY US
You don’t need to complete STEP 2 to access images and verify the field of view. Simply contact us, and we’ll send them directly to you via WhatsApp or text message. For bench tests or live site installations, please notify us in advance via text or email so we can provide remote assistance as needed.
CAMERAS HEIGHT - IMPORTANT!
To prevent a fisheye effect (where the image bends), it’s advisable not to position the camera too high or angle it sharply downward.
IP time-lapse cameras have a high vertical field of view. For optimal results, install the time-lapse cameras at a moderate height to maintain a level and straight perspective, rather than high and pointing downward. Even if it requires an extra ten minutes, starting at a lower height is recommended. Adjustments can always be made upwards if necessary. Setting the position correctly is crucial, as it significantly impacts the outcome of the film.
EXAMPLE 1
The camera is angled appropriately, providing a favourable field of view without pointing too far downward.
EXAMPLE 2
This camera is positioned at an optimal angle, without excessively pointing downward, offering a broad field of view.
LOW HEIGHT
This camera is installed at a height of around 10 foot.
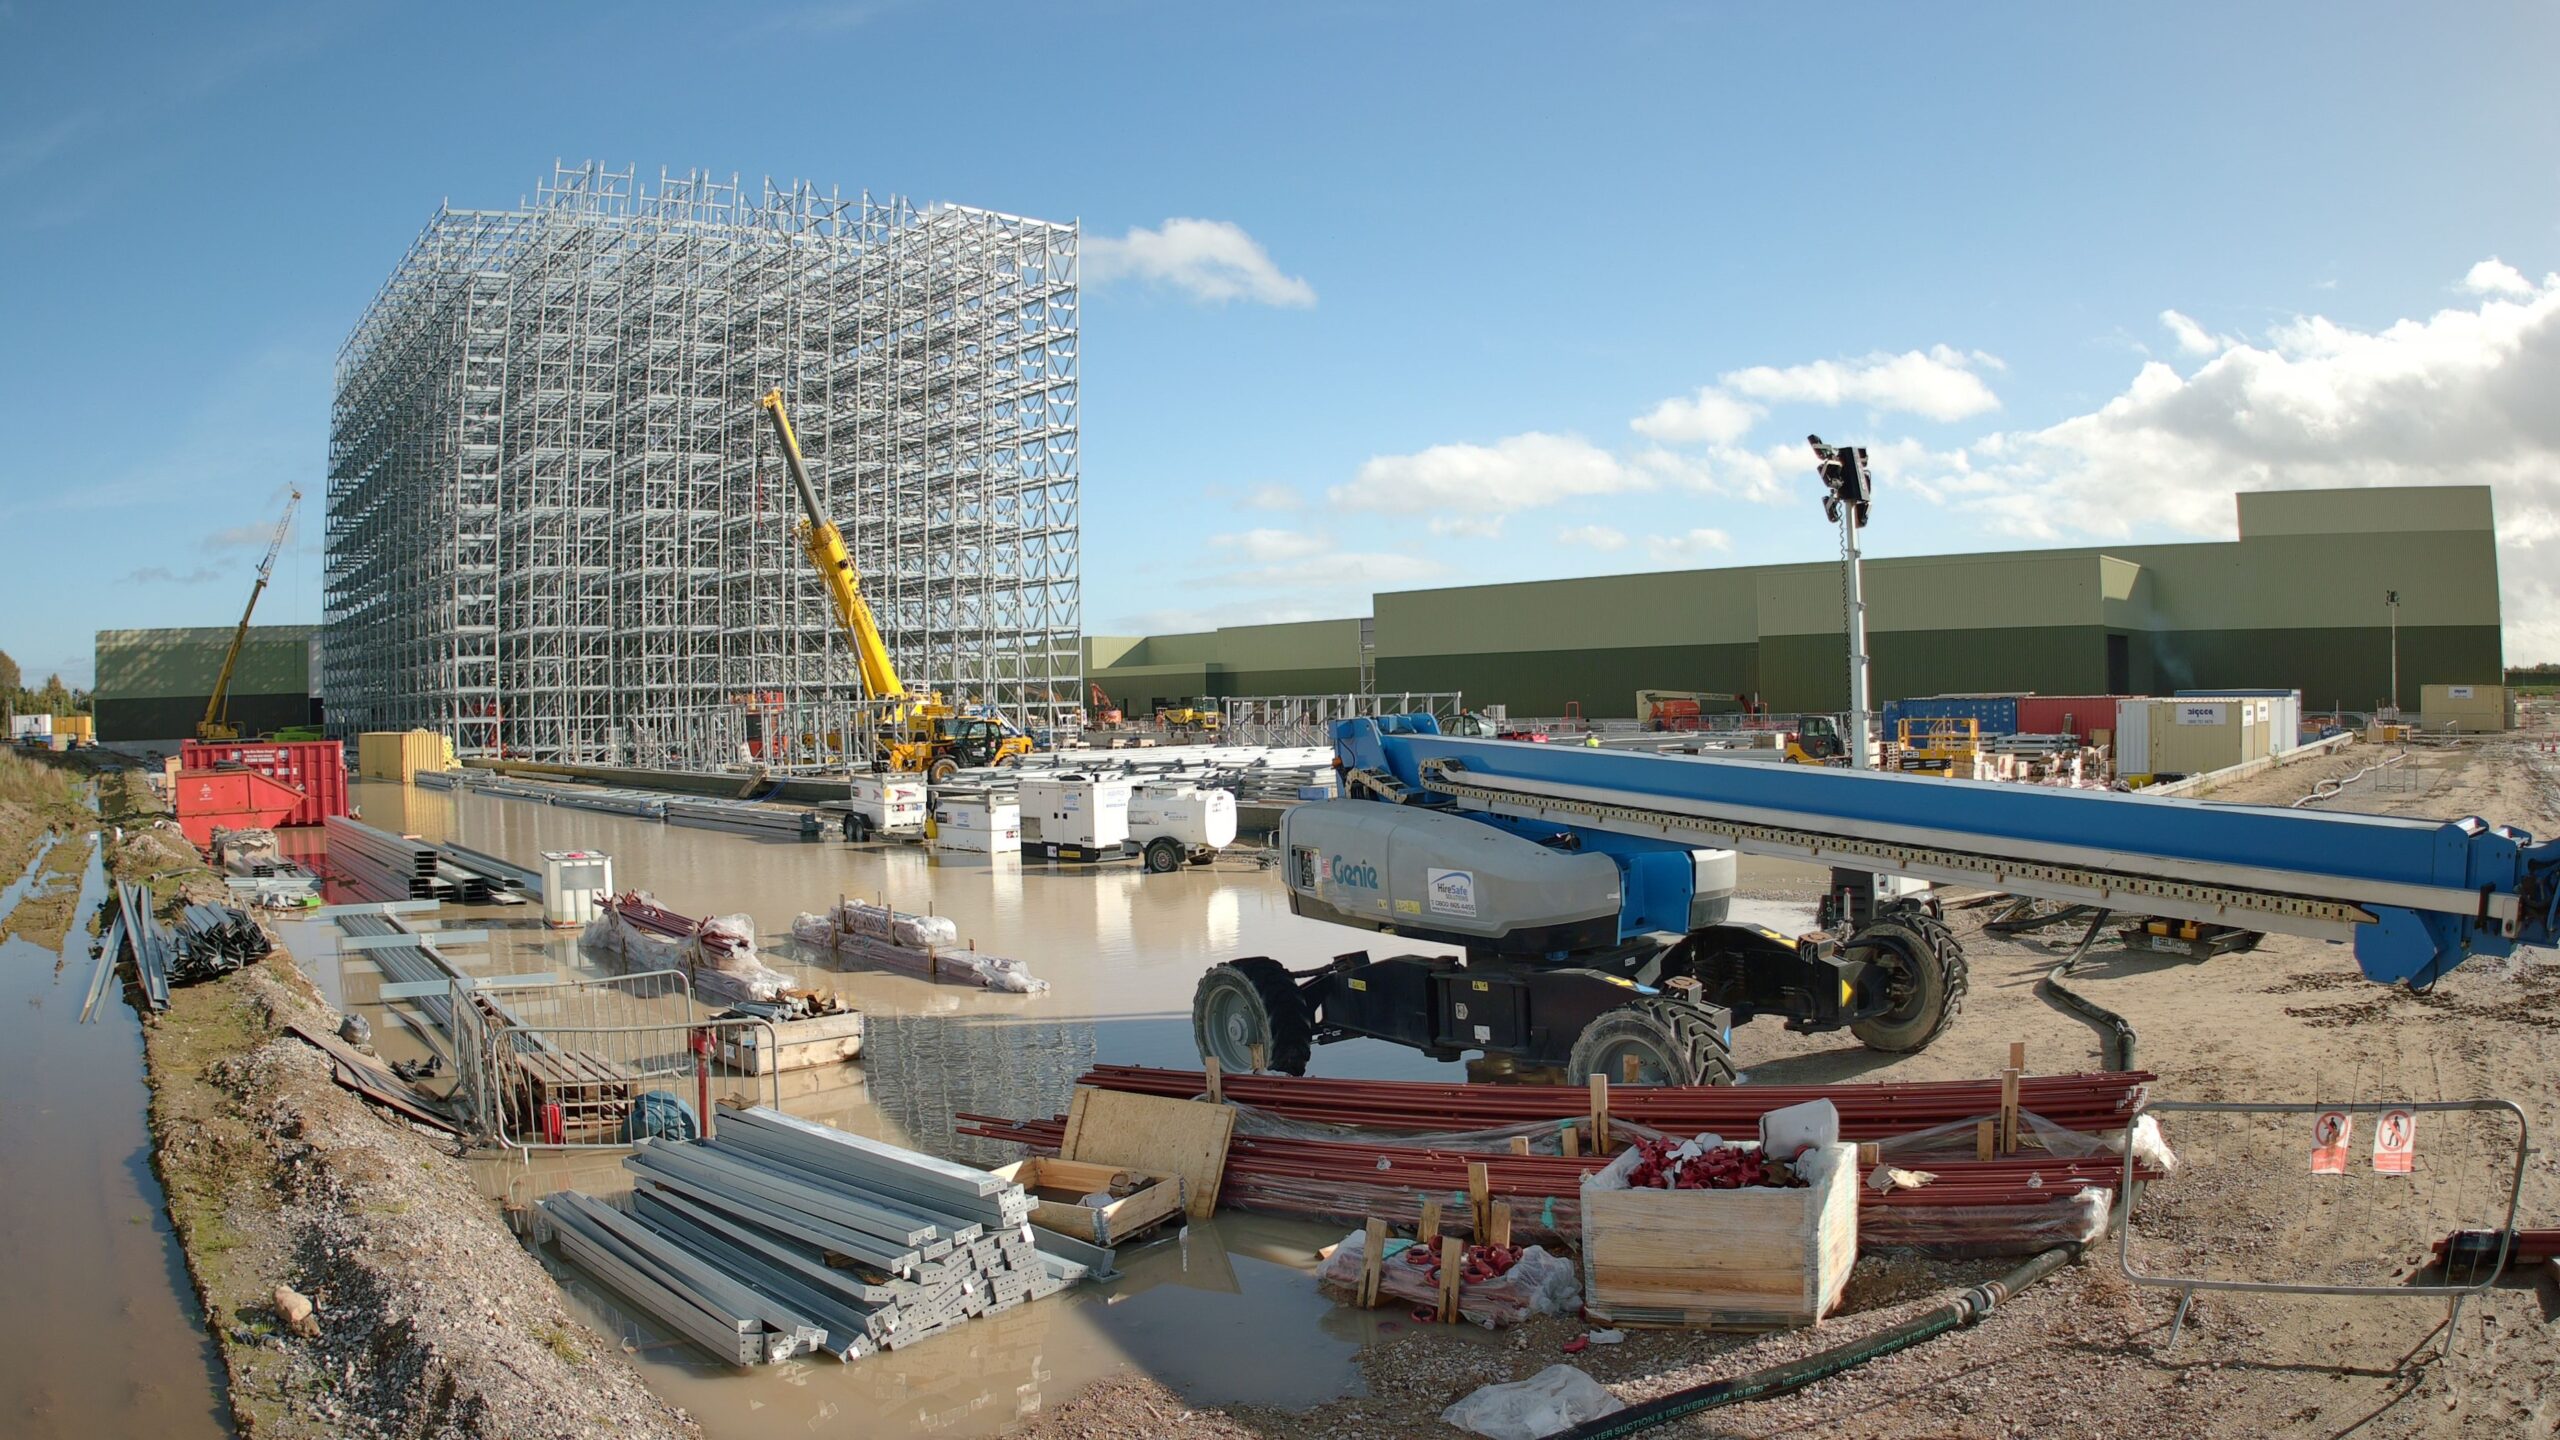
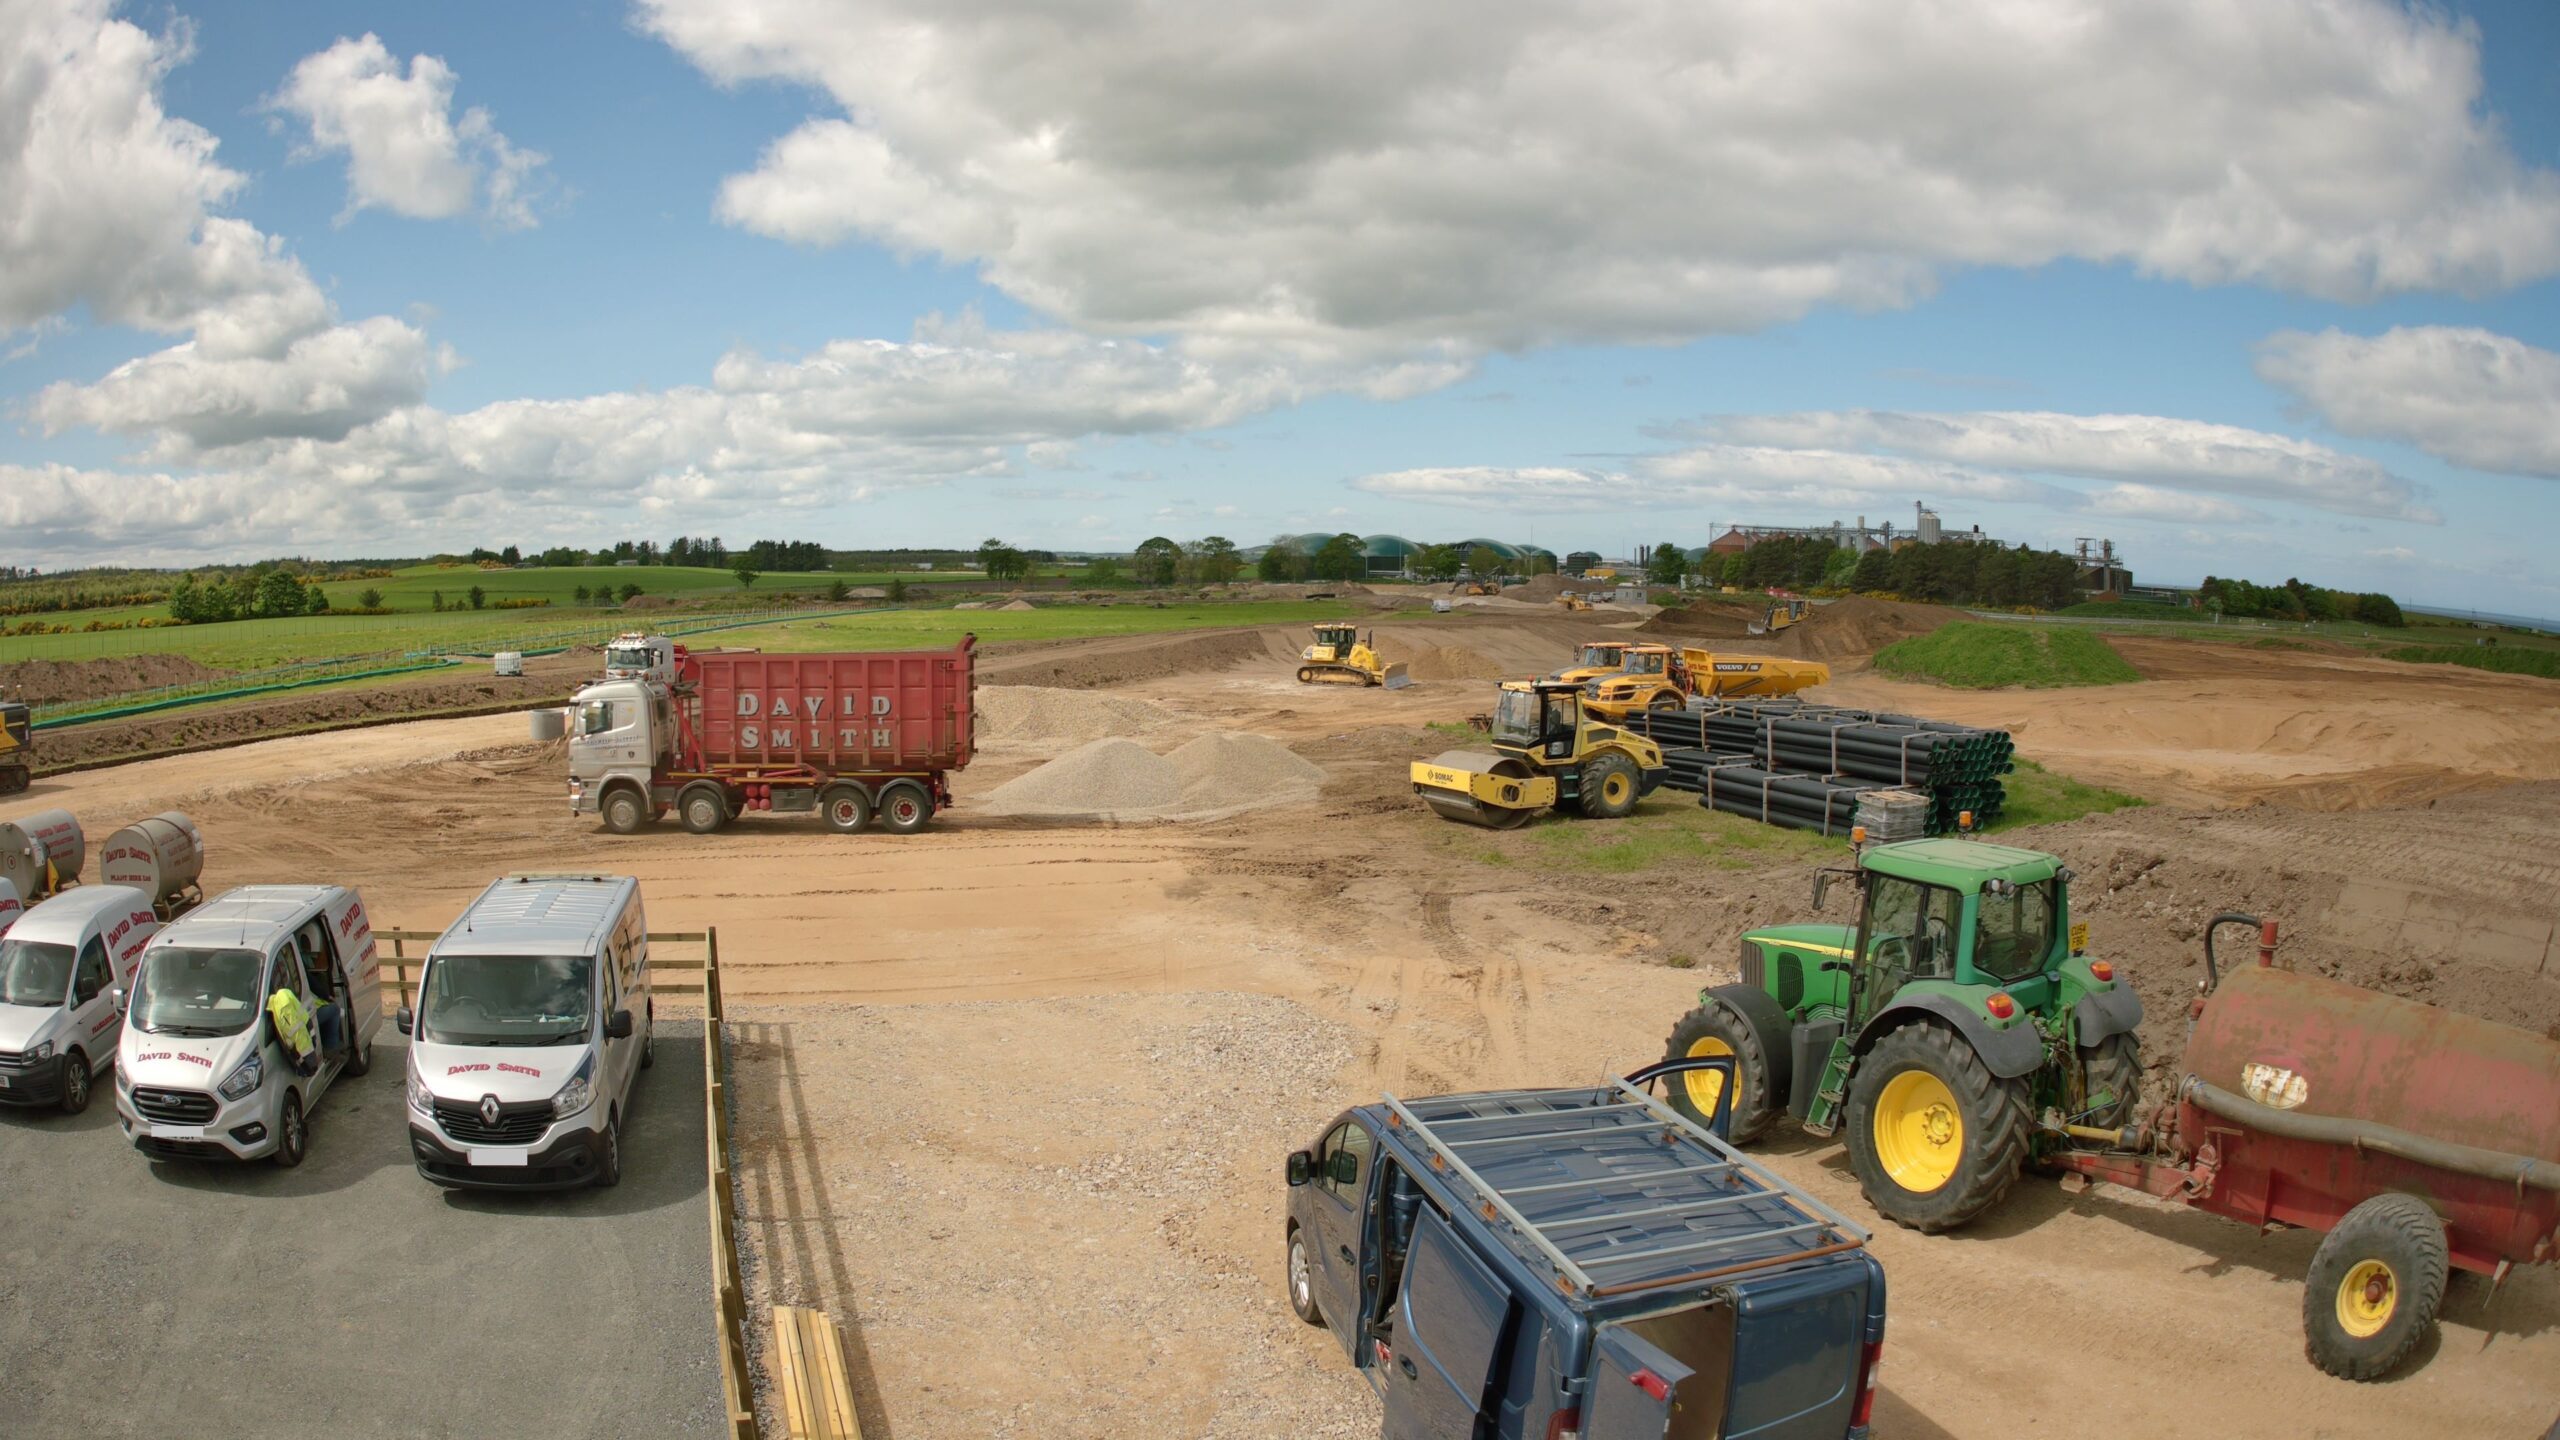
IMAGE FROM THE CAMERA
Image from the camera showing the high vertical capture.
WEB PORTAL
Usually, we dispatch your hardware along with the web portal access sheet the morning after the system has been shipped. While bench testing, you can conveniently utilize your web portal to monitor images. However, during on-site installation, it’s advisable to utilize either STEP 1 or STEP 2. This is because relying solely on the 10-minute interval updates for new images might lead to prolonged waiting times, particularly for minor angle adjustments.
IMAGE BACK UP - IMPORTANT!
It’s essential to back your images up at least every 3 months
It’s advisable to download your images from the server every 3 months for safekeeping. Depending on your project’s duration, removing historical images at some point may be necessary to ensure the portal and cloud folder remain free of issues. You can transfer the images using Filezilla, an FTP client that you can install on your computer.