THE SET UP
An off-grid setup might seem unfamiliar, but you can connect everything and have your solar-powered system up and running in under 30 minutes. It’s as simple as connecting the wires
IN THE CORRECT ORDER: 1 – Attach the battery cables with the ring ends to the battery terminals. 2 – Connect the solar (PV) extension cables to the PV terminals on the charge controller. Next, connect your panel cables into the extension cables. 4 – Connect the data cable from the camera, to the bottom port on the POE injector (small white device, 2nd from the right)
Never connect the solar panel to charge controller before the battery. Never remove the battery first, leaving the same situation.
Always connect the Red cable to positive (+) first and the Black cable to negative (-) second. When disconnecting, remove the black first.
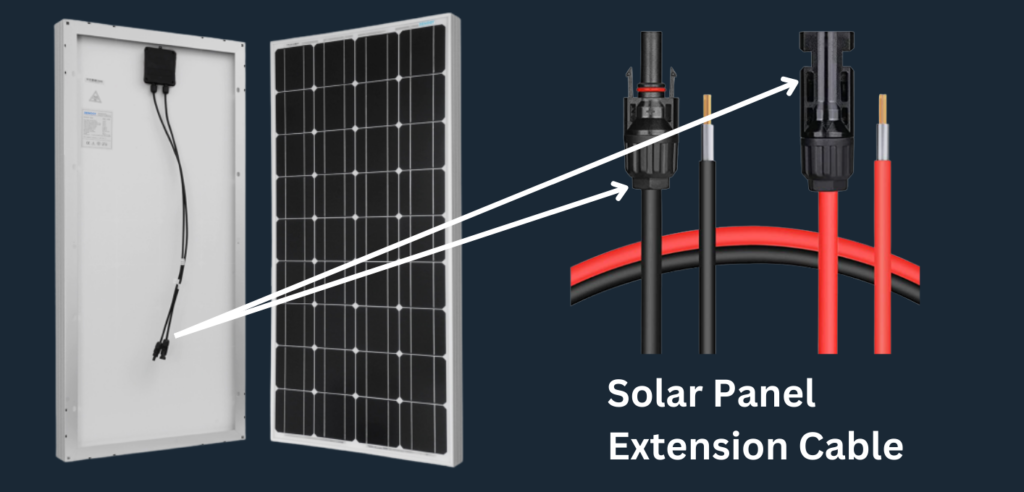
When connecting the solar panel, first connect the extension cables to the charge controller. Once these connections are secure, then connect the cables from the solar panel to the extension cables. Simply plug the connector ends into your solar panel’s connector ends, similar to the illustration displayed above, this corresponds to step 2 in the “connecting wires” section.
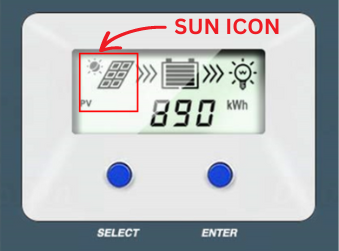
When your solar panels are fully set up and connected, the most important indicator to check is the sun icon. This icon confirms that your panels are correctly connected and generating power.

Time-lapse systems are seldom used after site hours. Use a local connection to set a timer on the charge controller, turning the load off at night. For a 9am-5pm schedule, set it from 8am (extra hour to warm the camera up) to 5:15pm, adjusting as needed for your timing.
1, From your mobile app store, download one called “solar guardian”
2, Disconnect your phone from all networks, including 4G/5G, but don’t turn your WI-FI off.
3, Then follow the below video
4, When you connect to the “HN…” network, the wi fi the passcode is 12345678
CHECK THE VIEW
As soon as the battery is connected, the camera will begin transmitting images to the cloud server. The final step is to verify the field of view. To do this, log in to the camera directly using its IP address, which can be found on your access sheet. ON THE PAGE BELOW, FOLLOW #STEP 2 – VIEW CHECKING BY YOU.
KEEP US IN THE LOOP
Please inform us of your planned installation date so we can be available to assist you.